
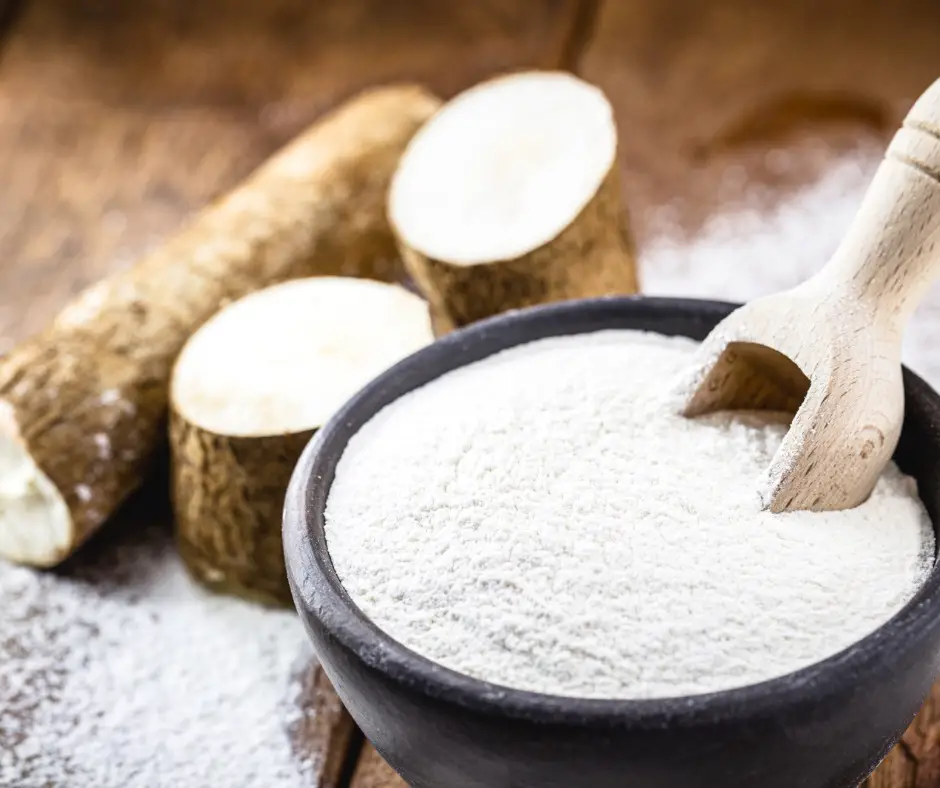
Garri is a dry crisp and granular flour made from fresh cassava pulp. Cassava is a common crop in Central and South America and in the tropical areas of West Africa.
It is one of the many foods that are not edible raw because they have harmful substances and anti-nutrients in their skins and flesh.
They need to be processed or cooked well to remove the toxins and make them safe and tasty to eat.
Some of the popular products that cassava can be turned into are garri, topiaco, cassava flour, and chips.
The different steps involved in making these products from fresh cassava reduce the toxicity to a level that is suitable for human consumption.
In this article, we will focus on garri, especially how it is made from fresh cassava pulp.
We will explain the whole process of producing garri from fresh cassava and show you how to store garri properly for longer use.
Toxicity of Cassava
Cassava, as we have seen, is a harmful root tuber when it is raw because it has toxins in its skin and flesh.
The main toxin is a chemical compound called linamarin which turns into hydrogen cyanide when it is eaten.
Cyanide exposure (from breathing or swallowing) can cause problems like goiter, and nerve disorders like tropical ataxic neuropathy and epidemic spastic paraparesis.
In some cases, it can also cause death.
There is a big difference in toxicity between the sweet and bitter varieties of cassava.
Sweet cassava roots have low levels of cyanide; less than 50mg per kilogram hydrogen cyanide on fresh weight basis, while bitter cassava root can have up to 400mg per kilogram hydrogen cyanide.
It is important to process cassava roots (using effective reduction techniques) to remove the cyanide compounds in them and lower the chances of cyanide poisoning.
There are old methods that have been used for this purpose and one of the most common in West Africa is the garri making process which we’ll be exploring below.
What Are The Steps In Making Garri
The process of making garri from cassava tubers involves seven hard steps that lower the total cyanide levels by about 83-96%.
At this level, the toxins are much less than the deadly dose and are safe to eat.
The steps must be done carefully, otherwise, cyanide can still stay in the final product and harm people who eat it.
The steps to change cassava into garri are:
- Peeling and Washing Of Cassava Roots
- Grating and Bagging
- Fermenting and Dewatering
- Sieving
- Roasting
- Drying
- Re-sieving (or Grading).
1) Peeling and Washing Of Cassava Roots
Peeling is the first and a very important step (if not the most important step) in the garri making process.
Peeling, like other steps, helps to remove the toxins from cassava roots by getting rid of the skin and cortex layer which have the most cyanide compounds.
By getting rid of these parts, about 50% of the total toxins in cassava roots is reduced. Fresh and good cassava roots should be used for making garri.
Method
Peel off the skin and cortex layer (or the inner cream layer) of the cassava root using a sharp knife or a peeling machine.
Avoid cutting the roots with a knife or peeler to get more garri from them.
Any bad or hard parts of the cassava roots should be cut off as well.
After peeling, wash the bare cassava roots with clean water to remove dirt and stains which can spoil the quality of the final product.
2) Grating and Bagging
Grating breaks down the cassava roots and releases hydrogen cyanide which is the poison made in the stomach when cyanogens are eaten.
Most of the hydrogen cyanide (and other types of cyanides) are removed during later fermentation, dewatering, roasting and drying steps.
Grating is good at removing linamarin (which is the main type of cyanide in cassava roots).
Method
After washing, let the cassava roots dry for about an hour, then turn them into a wet paste.
A machine or a hand grater can be used for this. The hand grater is usually a piece of metal sheet with holes on one side to make a rough surface on the other.
One way of hand grating is rubbing the cassava roots against the rough surface of the metal until only about 3% of each cassava root is left.
These bits are too small to grate because of the risk of hurting fingers on the metal surface.
During grating, put the wet cassava paste into a clean bowl and then move it into a bag; a jute bag, a plastic bag with holes, or a clean woven plastic bag.
3) Fermenting and Dewatering
Fermentation removes some of the hydrogen cyanide in water by soaking for a long time. Dewatering gets rid of most of the cyanide in the water that comes out of the mash.
Method one (Fermenting before dewatering):
Put the bag of mash on a rack and let it ferment for 1-4 days depending on how you like it. Fermenting for longer makes the final product more sour but also removes more cyanide than fermenting for shorter.
At least 72 hours of fermenting is good for getting rid of cyanide. During fermenting, some of the white water from the mash will come out of the bag.
After fermenting, take the bag of mash from the rack and press it using a machine or a screw.
Take the bag out of the press when the mash has about 40-50% water in it. You can tell that by seeing when the white water stops coming out of the bag and the bag is still wet.
Don’t take out too much water or the garri will not roast well. Leaving too much water will also make the garri clumpy when roasting. Aim for 40-50% water in the mash.
Method two (Fermenting and dewatering at the same time):
During fermenting, put pressure on the bag of mash by putting heavy stones on it, or by twisting the top of the bag and squeezing water out of it.
Pressing the bag between wooden poles with ropes would also work. Make the bag tighter every day to help more white water come out.
Fermenting is a very important step for the taste, smell, safety and texture of the final product.
4) Sieving
Sieving is needed to get a uniform grain that is good for roasting.
During sieving, the lump made from the dewatering step is broken into smaller bits (by hand or a hand machine or a power machine).
Big lumps and stringy parts of the grains are taken out.
Method
Take out the hard lump from the bag and make it into smaller grains (or grits). Use hand, hand sieve or a mechanical sieve to do this and make sure to take out stringy and lumpy parts.
5) Roasting
Roasting eliminates some of the remaining cyanide from fermentation by means of evaporation.
It is a crucial operation in terms of the development of flavor and edibility of garri. Roasting partially gelatinizes garri and dries it to a moisture content of 18%.
Method
Smear a thin layer of edible oil onto a large roasting pan, cast over fire.
Traditional roasting methods employ shallow cast-iron pans or earthenware pans, over an open wood fire, whereas modern industrial methods employ a mechanized garri frying/drying machine.
The use of red oil facilitates cyanide removal more compared to other fats and oils. Red oil produces a yellowish tinge on the final product and gives it a finer texture.
Fats and oils with good nutritional value should be used to supplement the loss of nutrients of high value from the cassava roots during processing.
Transfer the grits from the sieving operation (in batches) onto the surface of the frying pan and cook using a combination of stirring and quick pressing of the mash against the hot surface of the pan.
Use a large wooden spatula or a calabash for the operation and allow intermittent breaks (while stirring) to allow proper gelatinization of the grits.
When the temperature of the mash reaches 80 to 85 degrees (about 30-35 minutes), or the grits are cream white and crisp, the frying operation is completed.
Leave a small amount of garri on the frying pan to facilitate the roasting of the next batch.
6) Drying
Drying eliminates the remaining cyanide from the roasting operation by means of evaporation.
At the end of drying, about 83-96 % of the total cyanogenic content of cassava is reduced and the final product is edible and stable.
The final moisture content of the cassava mash is also reduced to about 10%, so the product is more crisp.
Method:
Transfer the roasted garri onto an elevated platform in the open air and spread thinly, allowing to cool completely in order to evaporate any remnant of cyanide from the preceding stages (about 4-5 hrs).
7) Re-sieving or Grading
Re-sieving ensures a finer and more even granules of garri.
Re-sieving improves the aesthetic value of garri, which is an important factor for sellers during marketing.
Method:
After drying, grade the resulting granules by sieving (using a standard sieve size) to produce finer granules.
Improving the Nutritional Contents of Garri
Garri produced from the method above has a not so impressive nutrient profile.
The biggest issue isn’t the modest nutritional content of the cassava roots from which it’s derived, but rather in the nutrient-leaching process that takes place during garri production.
Essential nutrients like vitamin C and protein, initially present in substantial amounts in cassava roots, are diminished to near negligible levels once processed into garri.
What remains is a carbohydrate-heavy grain (comprised largely of resistant starch), offering a meager amount of essential vitamins, minerals and other nutrients.
However, this can be rectified by fortifying garri with nutrient-dense foods during processing.
Fortification Techniques for Garri:
Incorporation of Palm Oil:
Palm oil is a rich source of Vitamin A. Adding it during the roasting or fermentation stages significantly augments the Vitamin A content in garri, thus enhancing its nutritional value.
Selection of Yellow Cassava Cultivars:
The yellow flesh variety of cassava brims with vitamin A compared to its white counterpart. Using yellow cassava cultivars would result in a more nutrition-packed product, particularly pumping up its vitamin A content which is crucial for maintaining good vision and fortifying the immune system.
Introduction of Protein-Dense Foods:
Protein-rich foods like soybean and its derivatives such as paste, milk residue or flour can be incorporated into garri to augment its protein concentration.
How To Store Garri
Just like any other food product, garri requires appropriate storage measures to prevent the onset of spoilage, particularly from mold growth and moisture accumulation, both factors that can adversely affect its crispness and shelf life.
Garri should always be stored in plastic bags or polyethylene bags that are lined with plastic, ensuring airtight conditions.
This step is pivotal as it prevents moisture ingress which could trigger deterioration and dampen its cherished crisp texture.
Furthermore, it’s crucial to place these bags on pellets or elevated surfaces rather than directly on the ground.
A well-ventilated room is an optimum space for storage because it helps maintain relatively constant temperature and humidity levels.
By adhering to these storage steps, you can preserve your garri in prime condition for up to a year.