
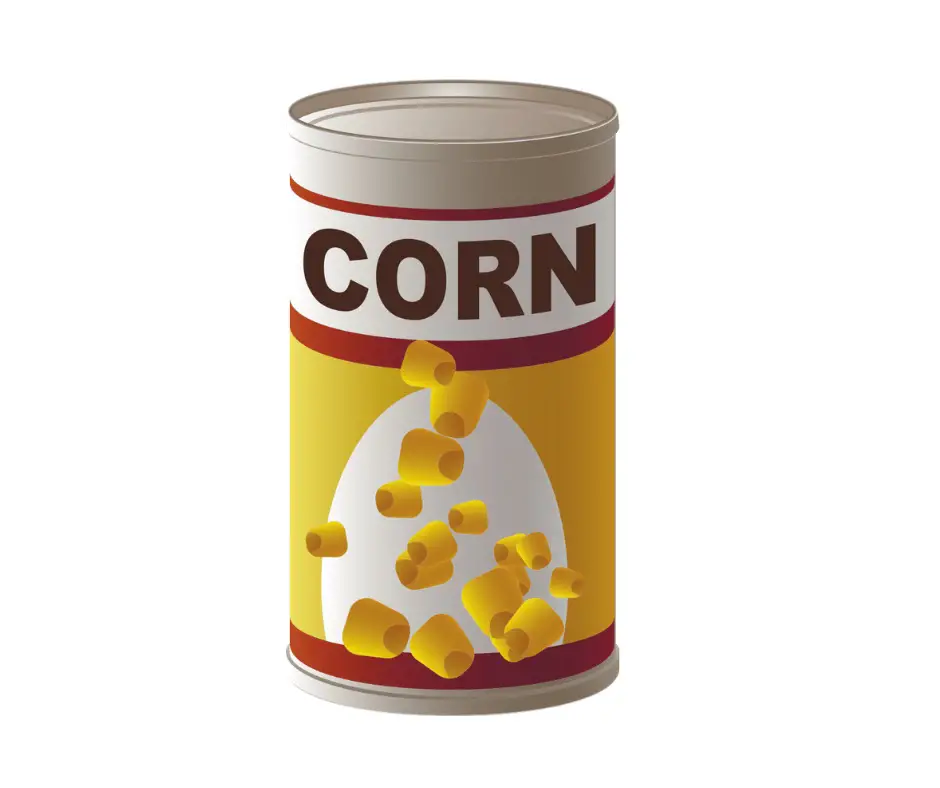
Canning corn is a great way to preserve the fresh flavor of summer for months to come.
However, many people don’t have a pressure cooker, which is traditionally used to can corn.
Which begs the question of whether they can actually can corn without a pressure cooker.
In this article, you will learn all these safety rules regarding canning corn and whether or not there are other methods you can use to can corn without a pressure cooker.
Can You Can Corn The Old Fashioned Way Using A Water Bath?
There are those who swear by canning using a water bath, and even extend it to corn.
But here’s the lowdown: there’s absolutely no reliable and safe way to can corn without a pressure cooker.
Why?
It’s all about science.
Corn falls into the category of low-acid foods, which means it needs high temperatures – around 240°F or higher – to obliterate harmful bacteria like botulism that could pose serious health risks.
The catch is that a water bath canner, just simmering away on your stovetop, simply doesn’t get hot enough.
Its maximum temperature caps at 212°F, far below what’s needed for safety.
You might hear anecdotal stories of corn being canned successfully with the water bath method. Ignore them.
This isn’t a myth that should be encouraged – it’s a dangerous practice.
The water bath method shines when used with high-acid foods like fruits, jams, pickles, and tomatoes.
For low-acid foods such as corn, meat, fish and other vegetables though?
You’ll want to stick with pressure canning to prevent spoilage and ward off potential illness.
There’s only one caveat: if you have your heart set on canning your corn with the water bath method, pickling is your answer!
Pickling your corn in vinegar increases its acidity and lowers its pH level enough for safe canning via water bath – provided you’re following a tested recipe and using proper equipment, of course.
Bear in mind though that pickled corn will have a different flavor and texture from simply canned corn – whether that suits you or not is entirely subjective.
What Is The Best Way To Preserve Corn?
The best method is ultimately one that suits your preference, availability of resources and time.
From freezing to canning, pickling to drying, each method has its own merits and downsides.
Freezing
Freezing corn is your fast track to preservation. Applicable for any sweet corn varieties you enjoy fresh off the cob, this method allows you to freeze either whole cobs or kernels, blanched or unblanched.
The prime advantage?
Freezing retains the flavor and texture of corn remarkably well for up to a year.
Downside: sizeable freezer space and a consistent electricity supply are must-haves.
Canning
If nostalgia tugs at your heartstrings, pressure-canned corn may be the way to go.
More time-consuming than freezing yet offering an impressive shelf-life of up to two years at room temperature, canned corn can be seasoned with other ingredients like peppers or tomatoes for added flavor.
Be prepared though—this method requires special equipment like a pressure cooker that might pinch a little on the pocket.
Pickling
For those who don’t shy away from tangy twists, pickled corn could tickle your taste buds!
Bathed in vinegar, sugar salt & spices, pickled corn becomes safe for water bath canning thanks to the increased acidity level and lower pH value it attains.
It’s great as salad additions, sandwich fillers or relishes but be warned – it doesn’t taste quite like regular corn due to its changed flavor profile and texture.
Drying
Last but not least – consider drying if longevity is your aim.
Working well with any sweet or field corn variety eaten off the cob or ground into flour, drying reduces the moisture content substantially thus deterring bacterial growth – store it at room temperature and forget about it for a good decade!
This method demands ample space and time plus an ideally dry and sunny climate for execution – also suggesting you’re okay with altered flavor profile and also the fact that the corn needs rehydration before use.
Does Corn Need To Be Blanched Before Canning?
No, it doesn’t.
Let’s dive a little deeper into why.
Blanching corn, which is basically the practice of scalding it swiftly in boiling water and then cooling it in ice water, serves several purposes.
It can help remove the silk, maintain the color and halt the enzyme action that could have an onward effect on corn’s sweetness and texture.
However, none of these factors make it a prerequisite for canning.
The reason is simple: With the heat involved in the canning process itself, the enzymes and bacteria causing spoilage are efficiently eliminated, making blanching an optional step.
Some people do prefer to blanch their corn before canning it though – they argue that blanching makes cutting off kernels easier and helps enhance flavor and allow it to preserve for longer.
In case you decide to skip blanching while canning corn, you’ll be using what’s known as the raw pack method.
This involves directly packing raw corn kernels into jars and pouring boiling water or broth over them.
Remember to use a pressure cooker irrespective of your choice to blanch or not – corn’s status as a low-acid food necessitates a high temperature for safe processing to prevent botulism.
How To Keep Corn From Turning Brown When Canning?
There might be a myriad of reasons as to why your corn turns brown while canning or when canned: from corn’s inherent high sugar content leading to caramelization to potential overcooking or overprocessing.
Luckily, here are some tips to keep that golden color intact in your canned corn.
Firstly, think about the variety of corn you’re using.
If you’ve been working with sweet corn, try switching to field or dent corn, both these varieties have lower sugar content and will curb the risk of caramelization during high-temperature processing.
Next, consider your canning method.
The quick and efficient raw pack method might be a game changer for preserving both color and texture.
This technique entails packing raw or just barely boiled corn kernels into jars, then covering them with boiling water or broth, a contrast from the hot pack method where the corn is cooked prior to being packed.
Also evaluate your choice of cookware.
Copper, iron, aluminum, zinc or chipped enamelware pots might be reacting with your corn leading to undesirable discoloration.
Opt instead for stainless steel or glass pots which are safe bets for preserving the integrity of your corn’s look.
Lastly, storage matters!
Safely tuck away your canned corn in a cool, dry and dark spot away from direct heat or light exposure – doing so could go a long way in maintaining its quality and color.
How To Can Creamed Corn Without A Pressure Cooker?
As we have established above, there’s no safe way to can any type of corn without using a pressure cooker.
This hard-set rule stems from the nature of corn (including creamed corn) as a low-acid food; it needs high temperatures to annihilate harmful bacteria that could lead to food poisoning.
A pressure cooker is your non-negotiable companion here as it guarantees the necessary heat intensity for safety.
So, how exactly do you go about canning creamed corn?
Start by cutting the kernels from the cob at approximately half their depth – blanch them first if you prefer.
Next, make sure you scrape the cob with the back of your knife, aiming to remove what remains of the kernels and forming the ‘cream’.
Now combine this scraped-off kernel ‘cream’ with your earlier collected half-kernels.
With your creamed corn mixture ready, all that’s left is following a reliable canning recipe.
Spoon your homemade delicacy into half-pint or pint jars and let them undergo their necessary journey in a pressure cooker.
How To Can Corn On The Cob?
Thinking about preserving whole ears of corn in jars?
We’ve got you covered.
Here’s a guide to help you can corn on the cob with confidence.
Start by shucking and cleaning your ears of corn. They need to be uniformly cut into 4, 6, or 8-inch pieces (that’s roughly 10, 15 or 20 cm for metric fans) to ensure they’ll comfortably fit into your pint or quart jars.
Once your corn is ready, arrange them in your jars making sure there’s an inch of headspace left at the top. This could mean positioning them horizontally or vertically depending on the size and shape – just ensure they’re not too tightly packed.
Now it’s time to add boiling water or broth into the mix, filling up to again leave an inch headspace. Feel free to toss in some salt, sugar and seasonings according to taste – though remember these are purely flavor enhancers and not necessary for safe canning.
Next, wipe clean jar rims before affixing lids and rings firmly but without excessive force. The jars are now ready for processing in a pressure cooker. Be sure to follow your cooker manual’s instructions carefully and adjust pressure appropriately based on your altitude – generally speaking, expect a process time of around 55 minutes for pints and 85 minutes for quarts at a standard pressure of 10 pounds.
After processing time ends, switch off heat, patiently let pressure decline naturally and only then open the lid once all pressure has released.
Finally, remove jars from the pressure cooker with caution placing them on a towel or rack where they can cool undisturbed.
Check all seals once cooled before labeling with the date.
Your canned corn on the cob is now ready for storage in a cool, dry, dark spot where it can be safely kept up to one year.
